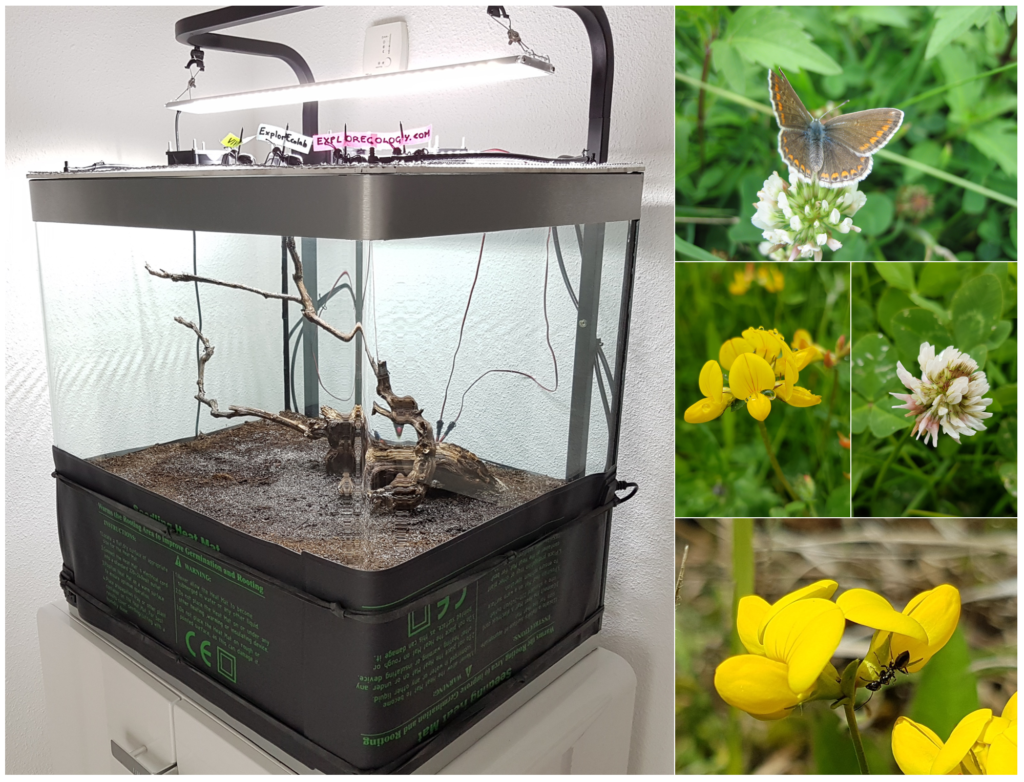
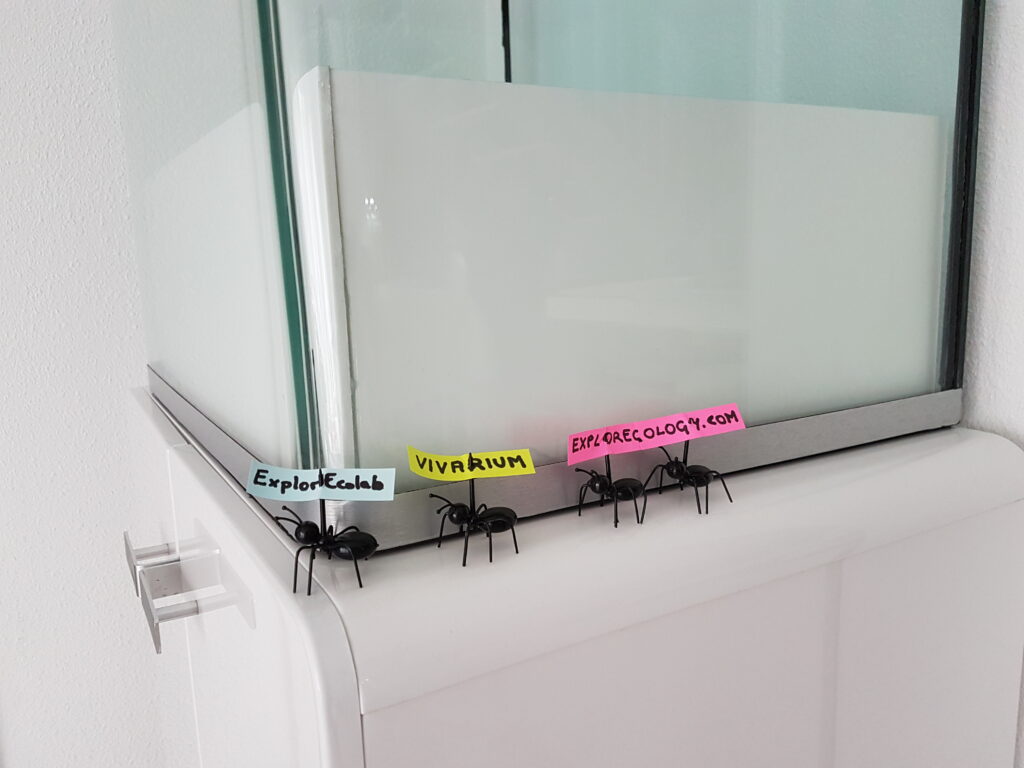
This page presents the stages of creating the laboratory for the ExplorEcolab project.
Material
- Support
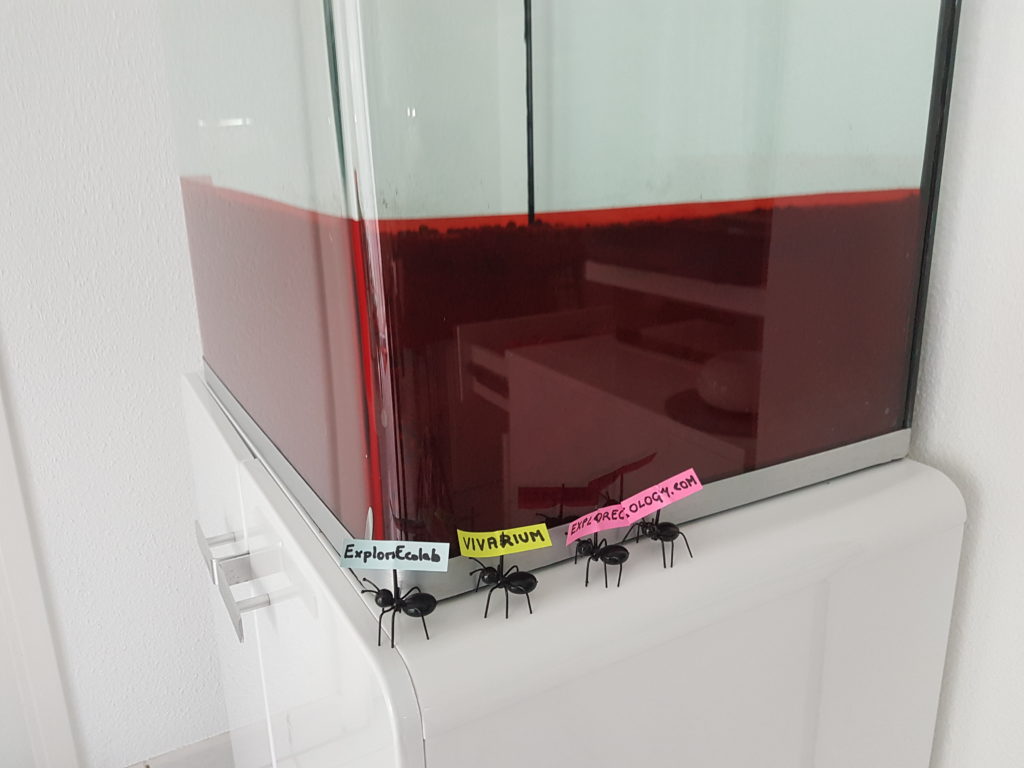
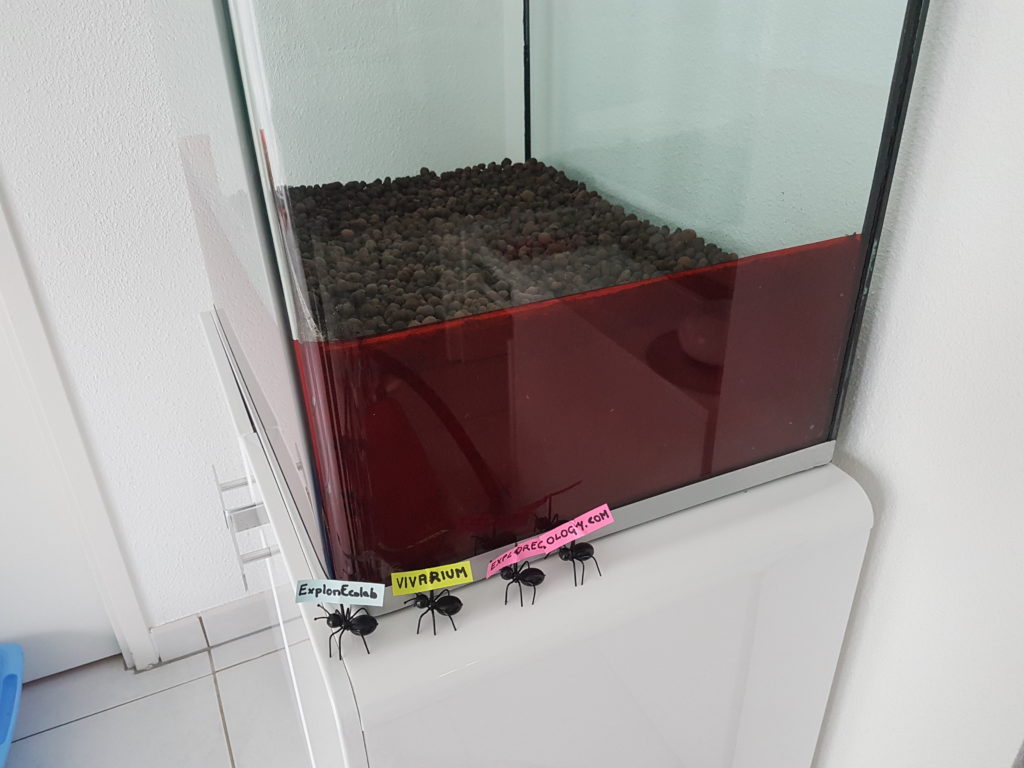
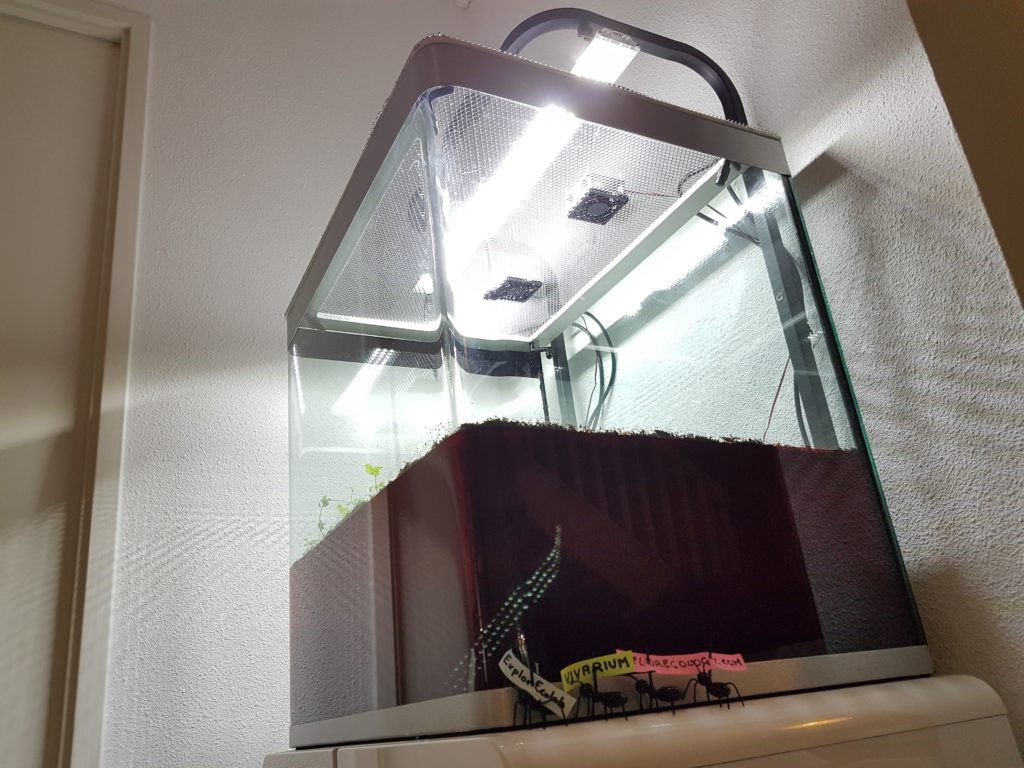
- Aquarium and white Osaka furniture bought : tank 155 L 61 x 45 x 61 cm, furniture 72 x 45 x 70 cm
- Plates
- Grid and mosquito-type netting
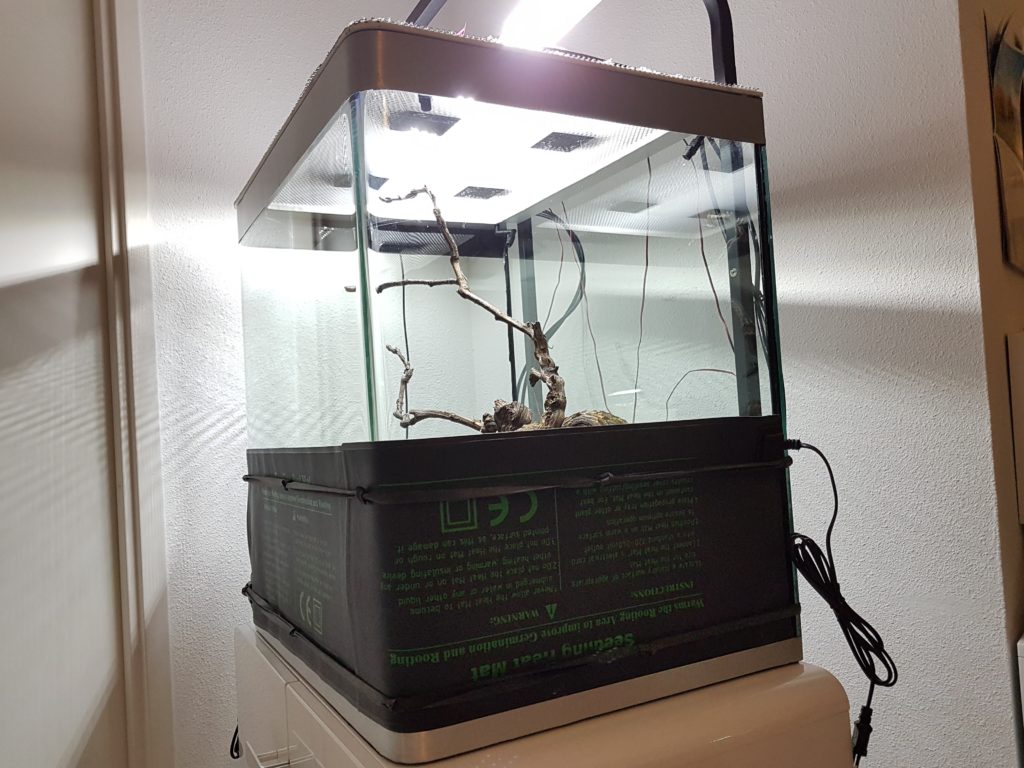
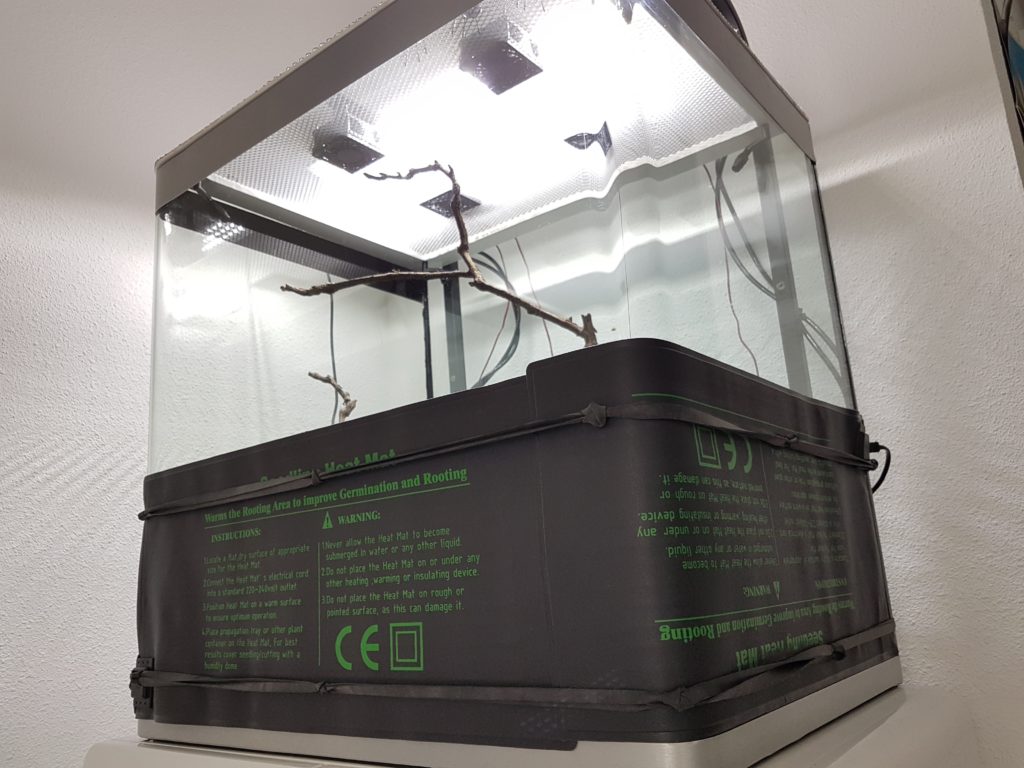
- vine stock
- Environmental conditions
- Programmable misting system Exo Terra MD 8 liters
- LED Aquarium Lighting
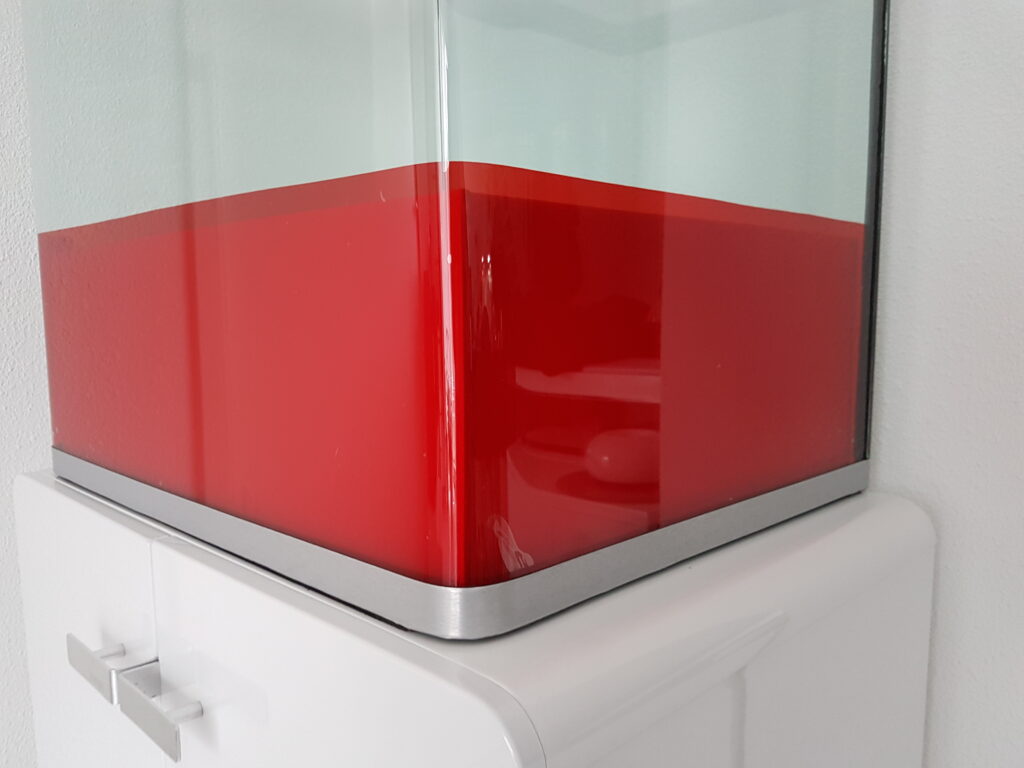
- Red film
- 4 fans Terra Fan Lucky Reptile
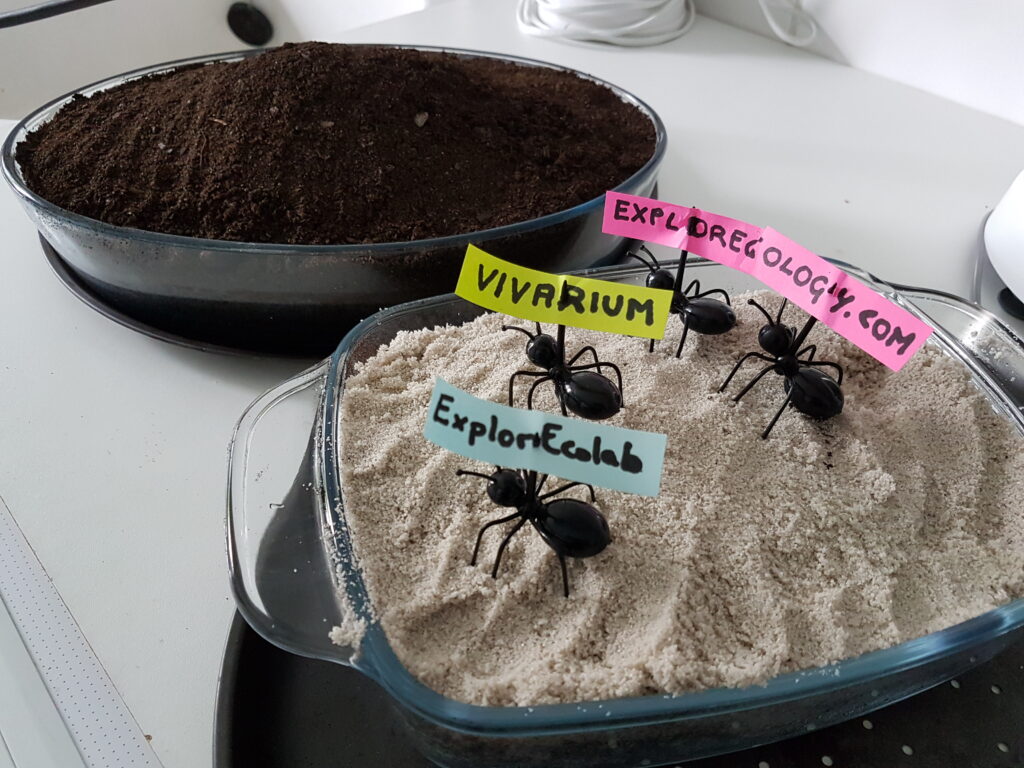
- Substratum
- Soil
- Sand of organic agriculture
Steps of creating the laboratory
Creation of the ants vivarium :
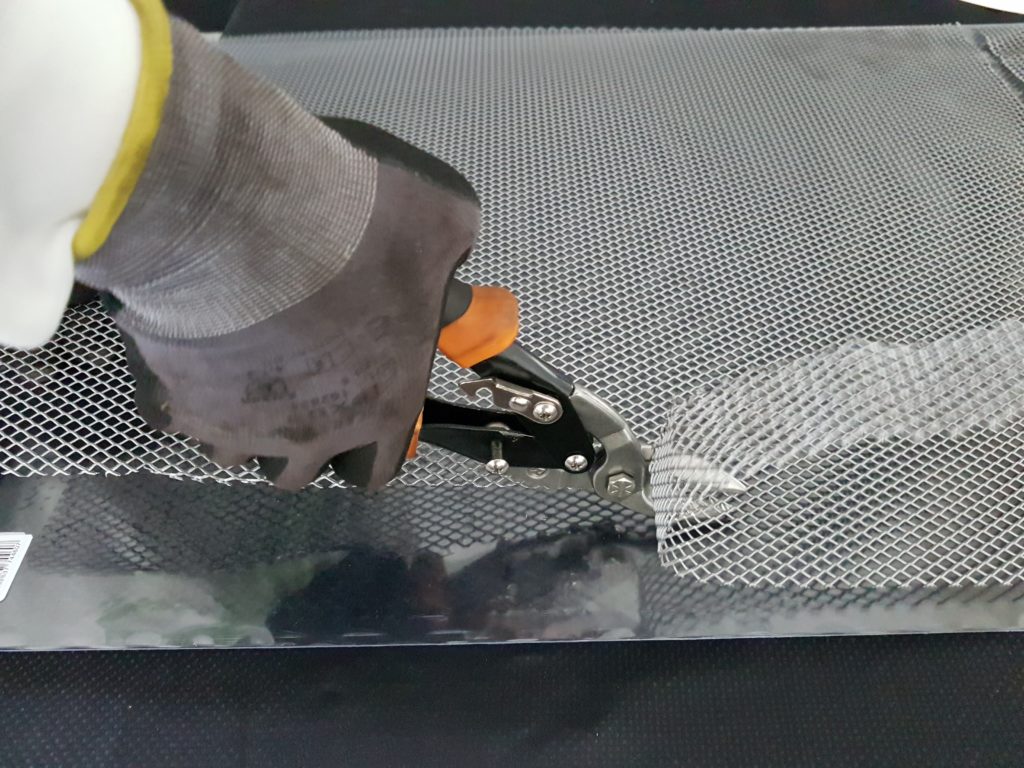
- cutting the plastic plates for the creation of the Lasius niger observation vivarium
![](http://www.explorecology.com/wp-content/uploads/2019/03/20190303_171233-5-1024x768.jpg)
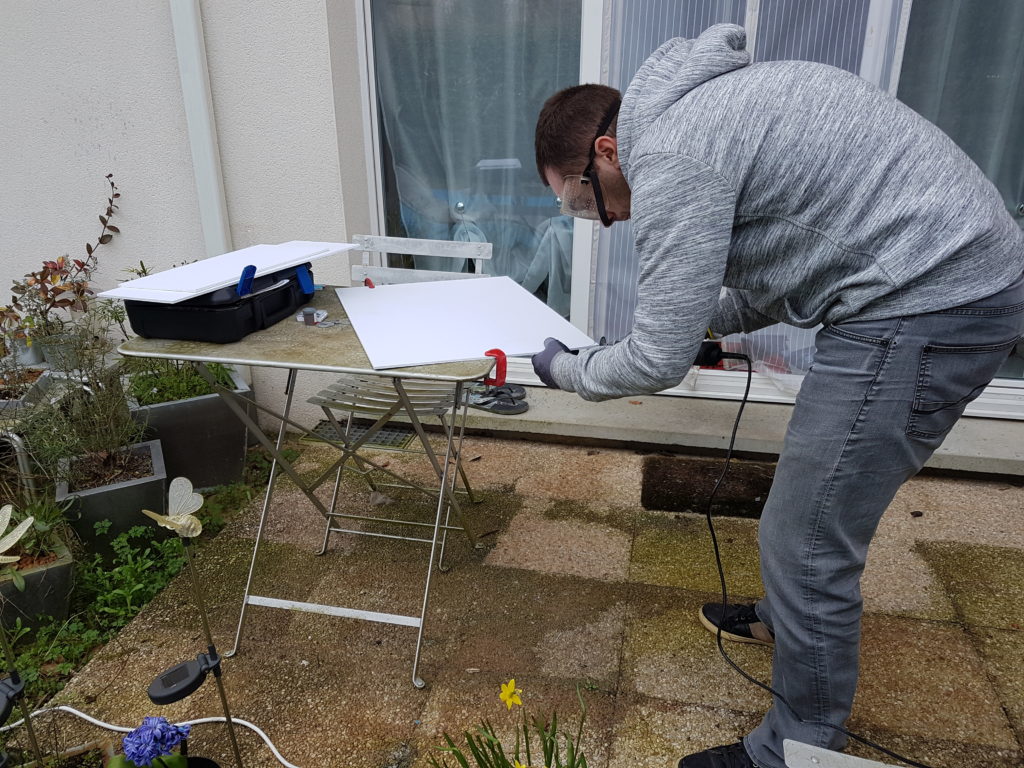
- gluing the plate supports.
![](https://www.explorecology.com/wp-content/uploads/2021/06/20190303_181045-768x1024.jpg)
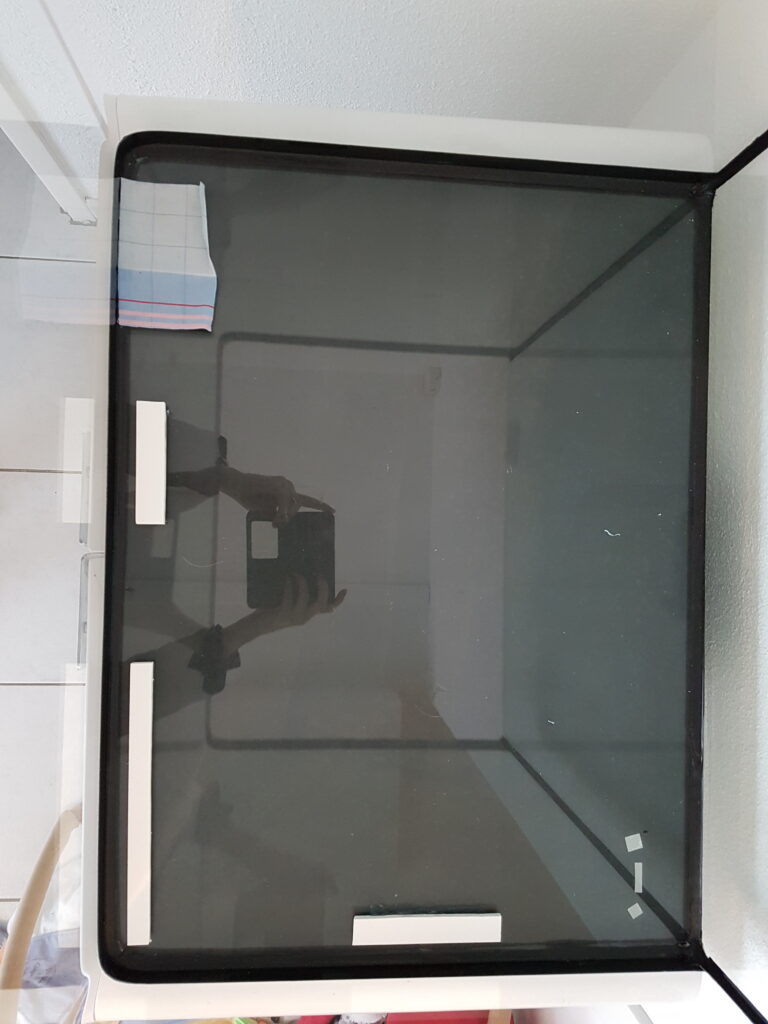
The plates were glued on two sides of the aquarium allowing the creation of the vivarium and the ants observatory.
![](https://www.explorecology.com/wp-content/uploads/2021/06/20190407_210350-1024x768.jpg)
![](https://www.explorecology.com/wp-content/uploads/2021/06/20190422_172800-1024x768.jpg)
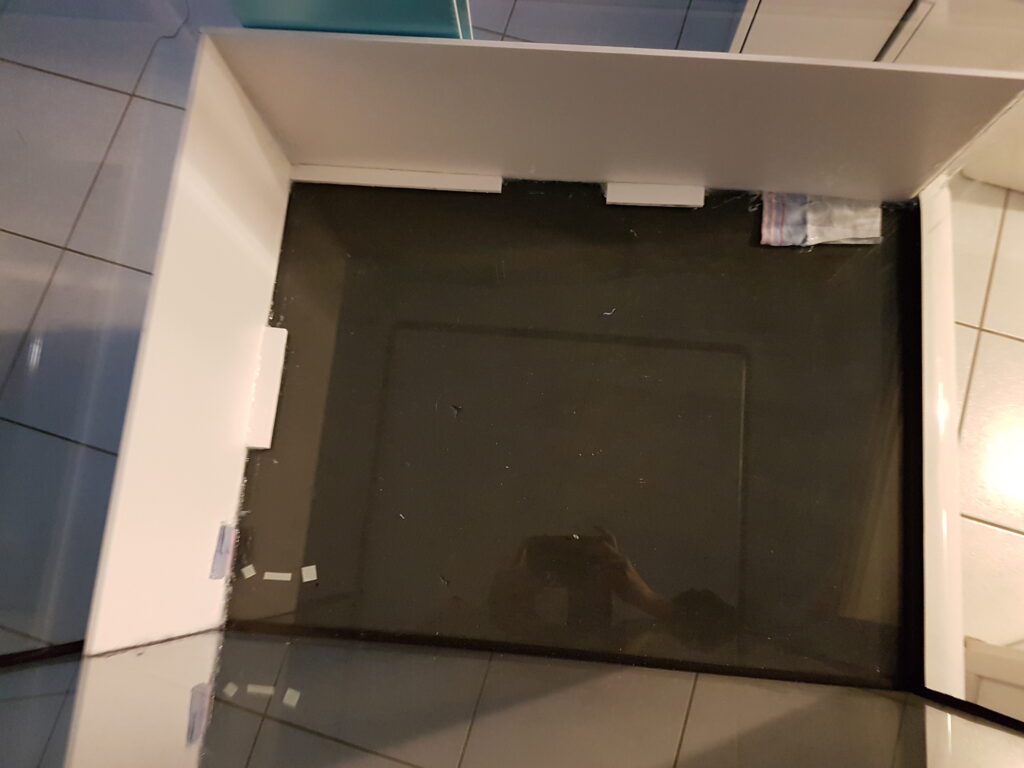
- substrate sterilization step
![](https://www.explorecology.com/wp-content/uploads/2021/06/20190502_145237-1-1024x768.jpg)
- installation of red film to create darkness conditions for the nest because ants do not see the red (Martinez, 2013)
![](https://www.explorecology.com/wp-content/uploads/2021/06/20190519_145148-1024x768.jpg)
- incorporation of sterilized substrate
![](http://www.explorecology.com/wp-content/uploads/2019/06/20190604_163119-4-1024x768.jpg)
![](http://www.explorecology.com/wp-content/uploads/2019/06/20190604_161633-1-1024x768.jpg)
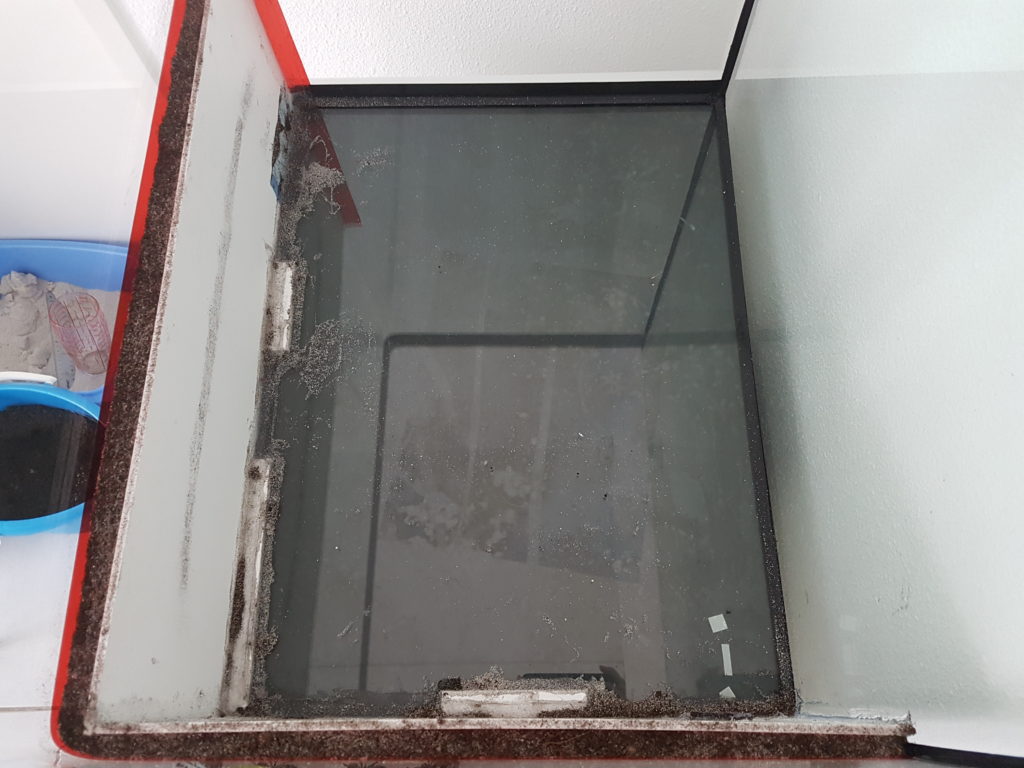
- Heating plates for nest of anthill
![](http://www.explorecology.com/wp-content/uploads/2020/03/20200316_195320-1024x768.jpg)
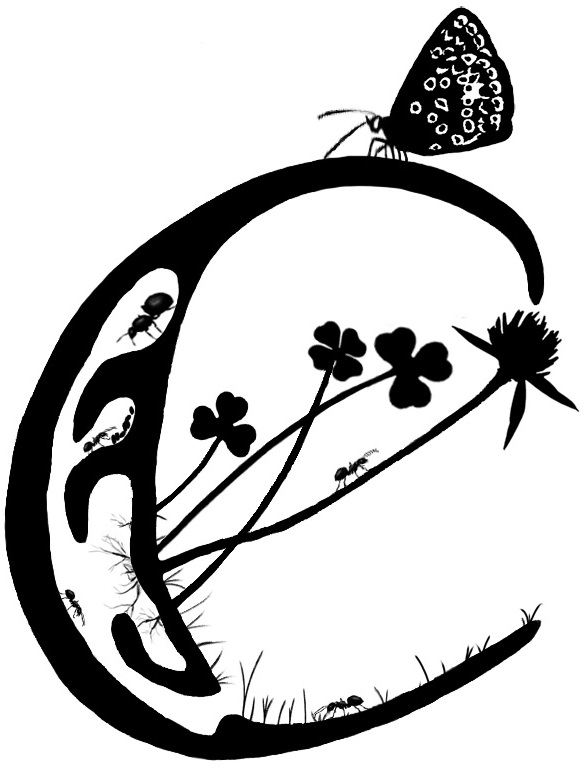
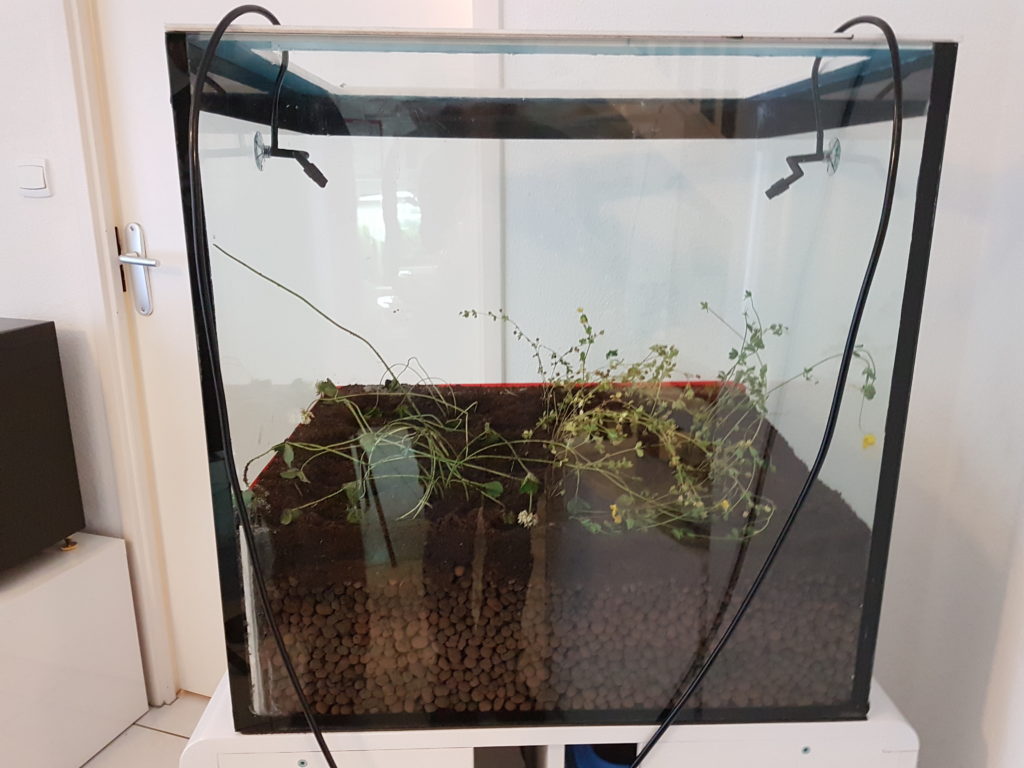
Creation of the living space of the butterfly Polyommatus icarus and its host plants
- incorporation of clay balls
![](http://www.explorecology.com/wp-content/uploads/2019/06/20190604_163127-1024x768.jpg)
- incorporation of sterilized compost
![](http://www.explorecology.com/wp-content/uploads/2019/06/20190613_180732-3-1024x768.jpg)
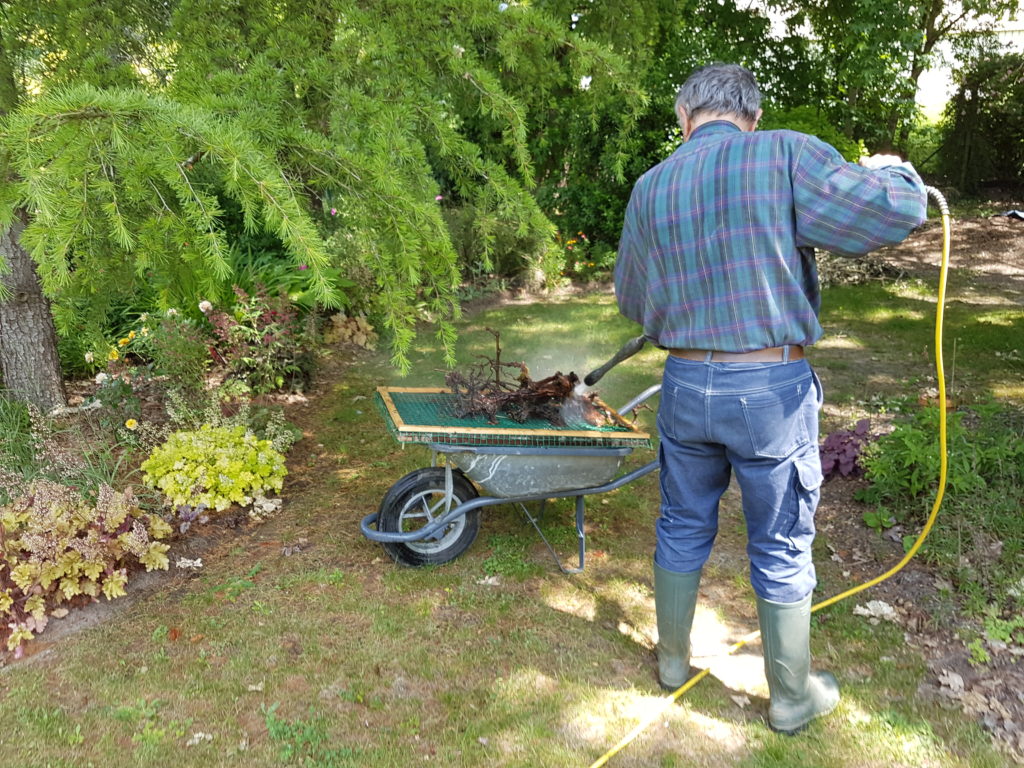
- Installation of a vine stock after karcher cleaning
![](http://www.explorecology.com/wp-content/uploads/2019/11/20190603_143547-1024x768.jpg)
![](http://www.explorecology.com/wp-content/uploads/2019/11/20191108_201238-1024x768.jpg)
Creation of climatic conditions
- Setting up misting system of the rain simulator
![](http://www.explorecology.com/wp-content/uploads/2019/06/20190613_202446-1024x768.jpg)
- LED lighting simulator of the sun
![](http://www.explorecology.com/wp-content/uploads/2019/11/20191104_181354-1024x768.jpg)
- Setting up a cover with a fan support plate
![](http://www.explorecology.com/wp-content/uploads/2019/11/20191103_162216-1024x768.jpg)
- Setting up air circulation fans
![](http://www.explorecology.com/wp-content/uploads/2019/11/20191103_184059-1024x768.jpg)
![](http://www.explorecology.com/wp-content/uploads/2019/11/20191108_201412-1024x768.jpg)
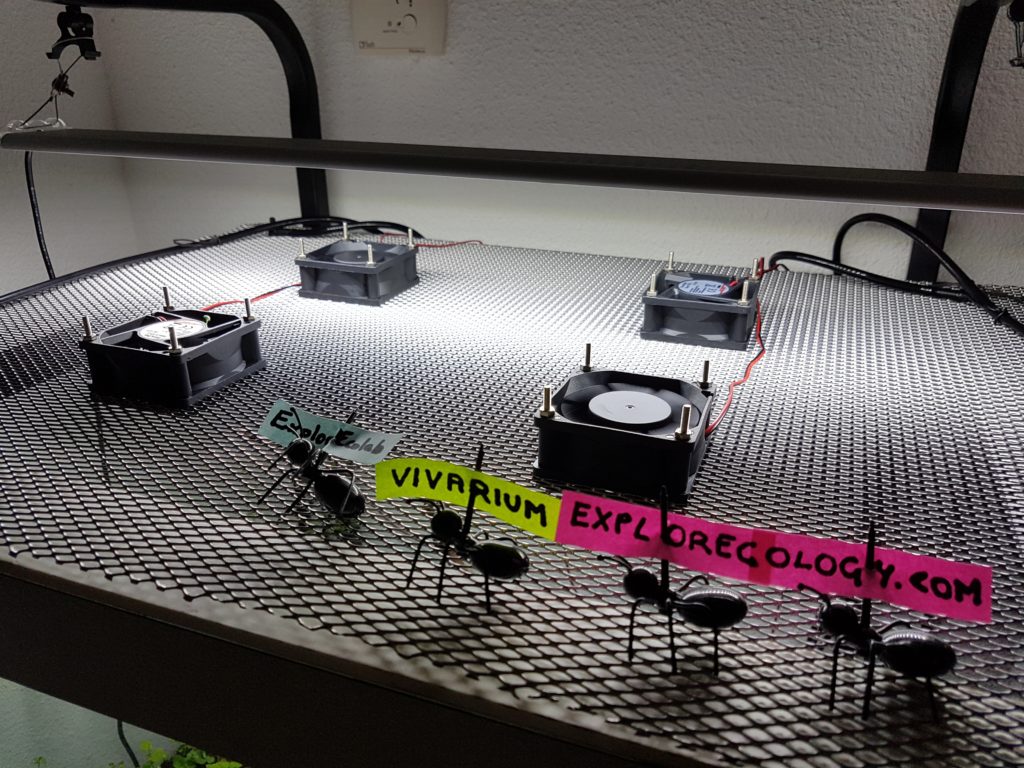
- Mosquito-type netting added to the mesh plate
![](http://www.explorecology.com/wp-content/uploads/2020/03/20200317_134105-1024x768.jpg)
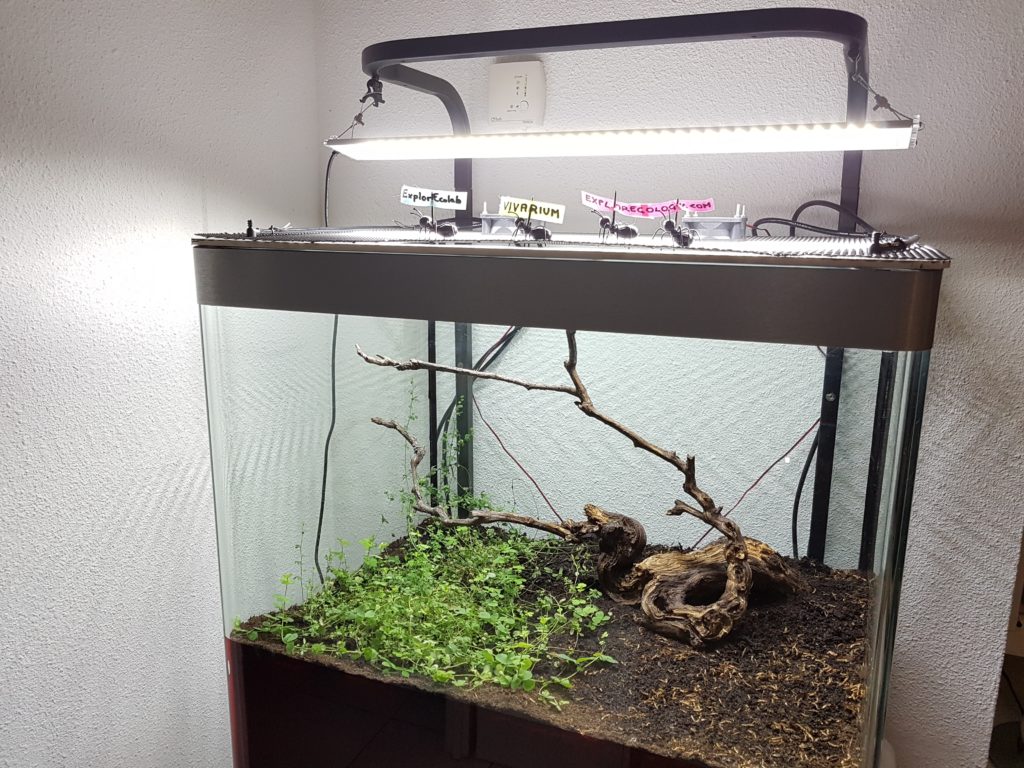
Final step : The laboratory
![](http://www.explorecology.com/wp-content/uploads/2020/03/laboratoire-et-espèces-1024x782.png)